Overview
Workflows allow you to wire up conditional logic and image processing to enforce business processes, automate ingest, and save valuable development time. Once you’ve configured a workflow, it can be called with a single reference in your upload code (for example, using Filestack’s File Pickers).
Concepts
At a high level, workflow represents a unique collection of tasks and logic that orchestrates their execution. As you can build really complex solutions using this feature, it is imperative to understand the following concepts and vocabulary we will use in the documentation:
- tasks - set of actions that will be executed when the job starts.
- logic - some tasks end with specific output suitable to create logic that will orchestrate the execution of other tasks.
- job - single run of the workflow. A file upload triggers it.
- webhooks - workflows are asynchronous by nature, and therefore webhooks need to be configured in order to receive the results of the job.
Each workflow will get its own UUID, which can be used to start jobs. You can think of a workflow like a template for jobs, where a job is a concrete instance of the workflow for a particular file.
Configuration
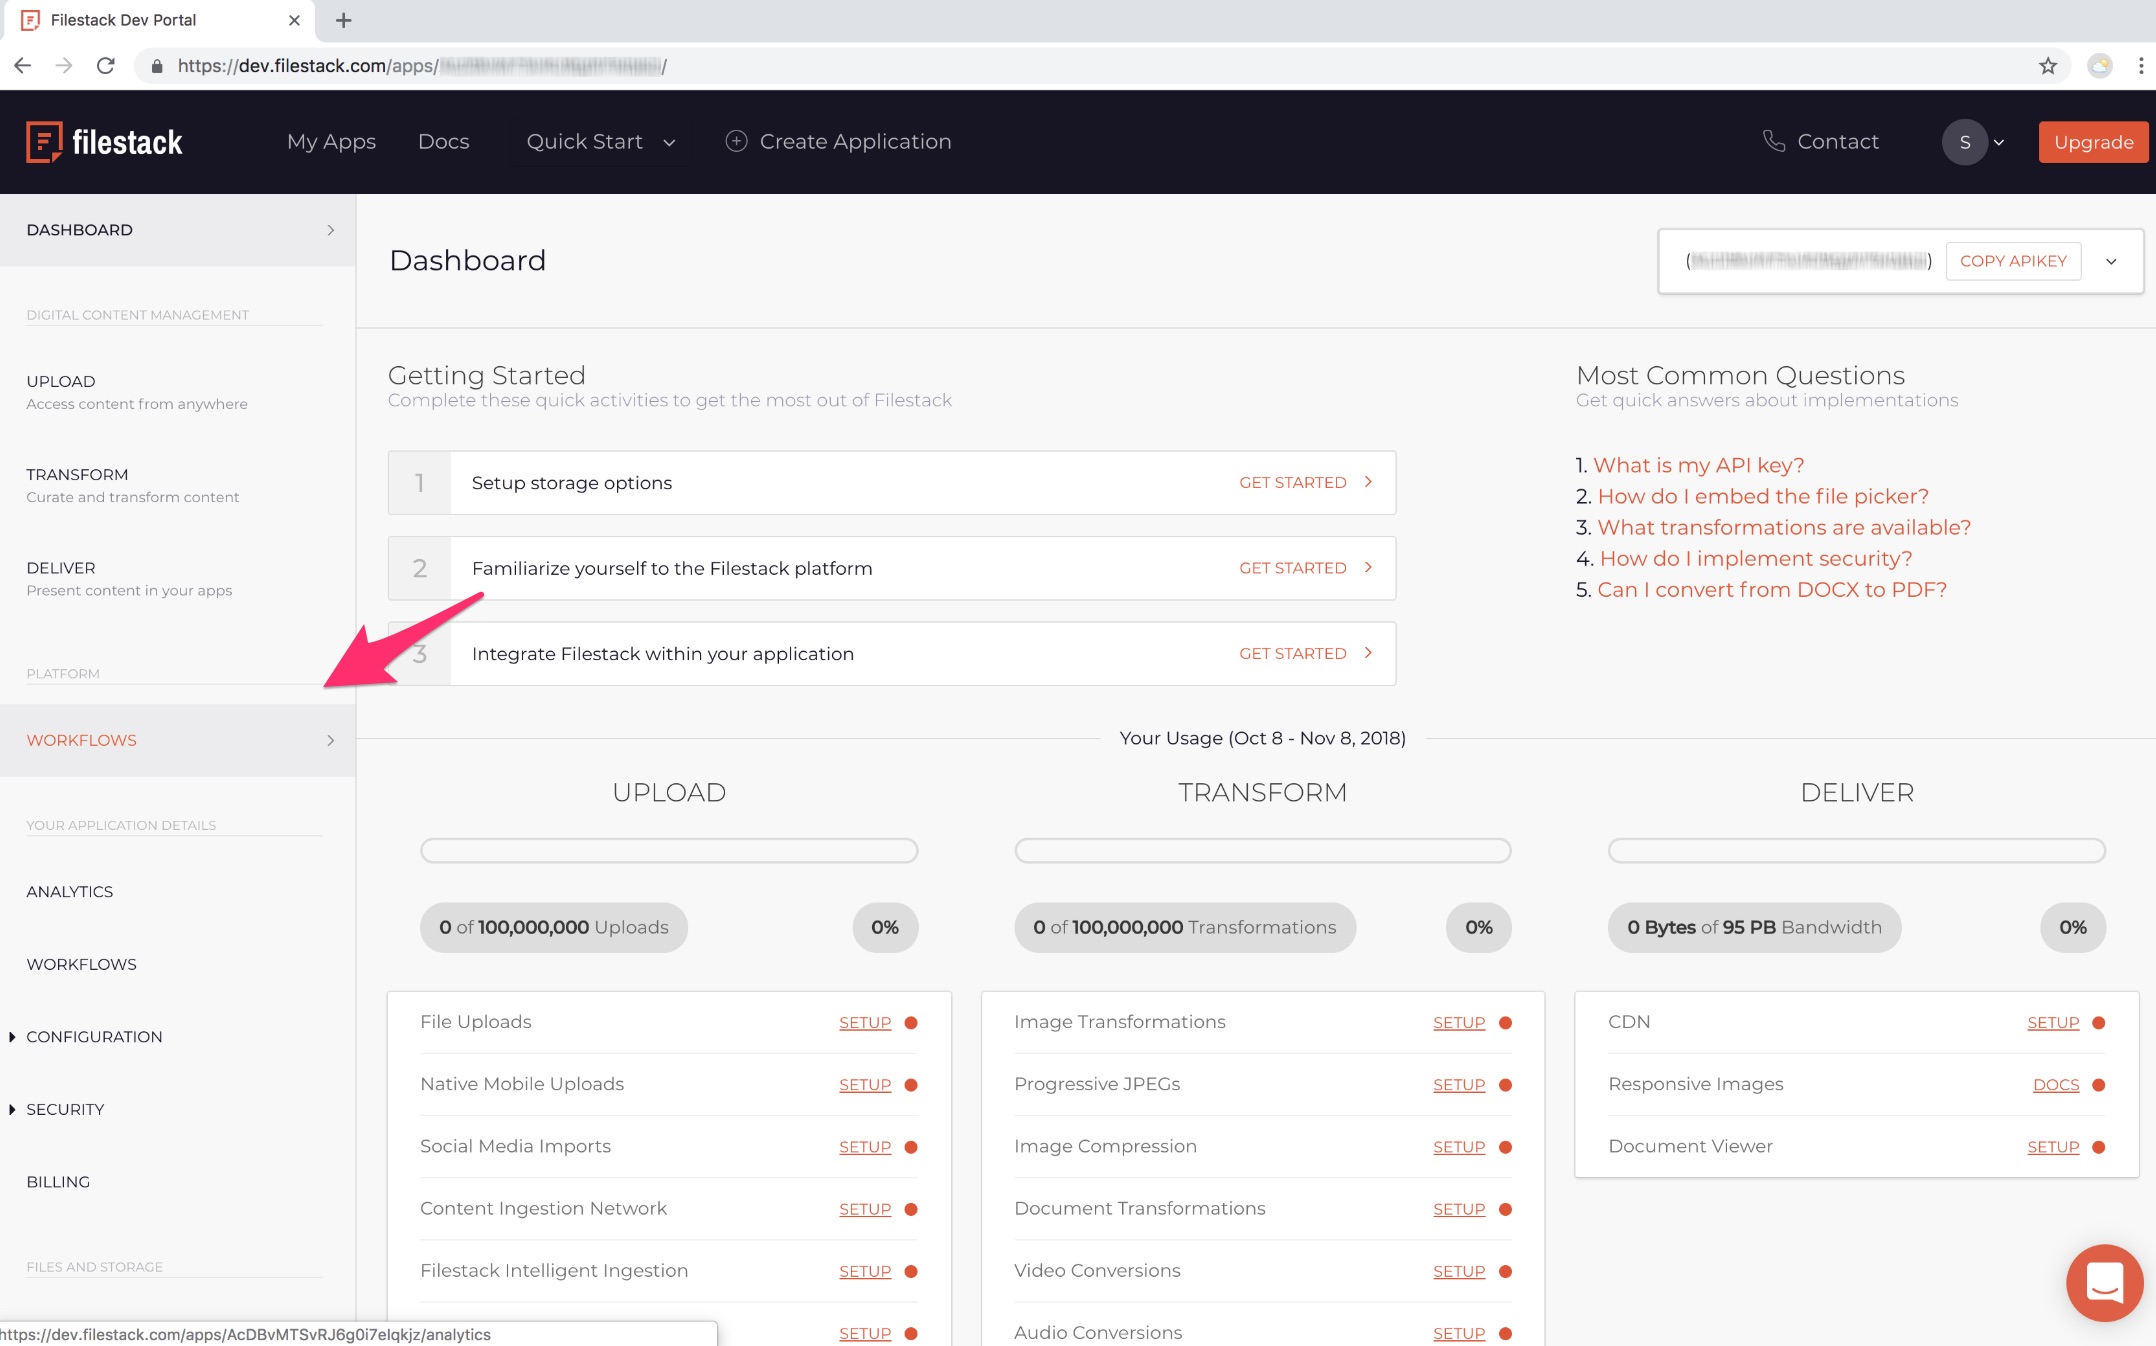
To create a workflow, log in to your Developer Portal with your email and password. Inside the Dev Portal, you’ll see a menu running down the left-hand side of the page. Click on “Workflows”, and you’ll be taken to the Workflows management page, where you can see your existing workflows, edit them, remove them, and create new ones.

You can learn more about creating new workflows from our tutorial.
Tasks
Workflows support three categories of tasks:
- Transformations - all standard image/document/audio/video transformations available in Filestack’s Processing API
- Advanced Transformations - advanced image enhancement conversion
- Intelligence:
You can learn more about using tasks from our tutorial.
Logic
Configuring logical rules for your workflow requires an understanding of the structure of the data you’re dealing with. In this section, we’ll examine the values you can specify to configure these properly.
Path
The Path field specifies a path to an element in a JSON structure. Paths use the dot notation (element1.element2),
for example, in order to access the sky element in the following JSON, the path would be tags.auto.sky:
{
  "tags": {
    "auto": {
      "aqua": 93,
      "azure": 82,
      "blue": 96,
      "moths and butterflies": 82,
      "sky": 76,
      "teal": 80,
      "turquoise": 78,
      "underwater": 85,
      "water": 93
    },
    "user": null
  },
  "metadata": {
    "filename": "example.jpg",
    "mimetype": "image/jpeg",
    "size": 206993,
    "uploaded": 1539306992437.26,
    "writeable": true
  }
}
Comparison Operators
The following operators will use the example JSON given above, using the following format:
path operator value -> result
lt: “less than”tags.auto.aqua lt 93 -> false metadata.size lt 300000 -> truelte: “less than or equal to”tags.auto.teal lte 80 -> true metadata.size lte 200000 -> falsegt: “greater than”tags.auto.aqua gt 93 -> false metadata.size gt 200000 -> truegt: “greater than or equal to”tags.auto.teal gte 80 -> true metadata.size gte 300000 -> falseeq: “equal to”tags.auto.sky eq 80 -> false metadata.filename eq "image/jpeg" -> trueneq: “not equal to”tags.auto.sky neq 80 -> true metadata.filename neq "image/jpeg" -> falseincl: “does include”metadata.filename incl ".jpg" -> true metadata.mimetype incl "/png" -> falsenincl: “does not include”metadata.filename nincl ".jpg" -> false metadata.mimetype nincl "/png" -> truekex: “key exists”tags.auto kex "sky" -> true tags.auto kex "red" -> falseknex: “key doesn’t exist”tags.auto knex "sky" -> false tags.auto knex "red" -> true
Usage
In order to trigger the workflow job for each upload in the File Picker, you need to attach your workflow ID to the storeTo options like this:
const client = filestack.init(YOUR_API_KEY);
const options = {
  storeTo: {
    workflows: ["YOUR_WORKFLOW_ID"]
  }
};
picker = client.picker(options);
picker.open();
Webhooks
Workflows are asynchronous, and therefore you need to configure a webhook with a “Workflow” type for your application where you will receive job results. You can configure webhooks in your Developer Portal
Example webhook response:
{
    "id": 61398533,
    "action": "fs.workflow",
    "timestamp": 1548235683,
    "text": {
        "workflow": "2c9b6198-b76r-451a-9755-e7f345d2f45d",
        "createdAt": "2018-10-15T21:57:08.830541141Z",
        "updatedAt": "2018-10-15T21:57:09.612782093Z",
        "sources": [
            "0ih46emUc5qJ1H8G08ag"
        ],
        "results": {
            "filetype_1539287408985": {
                "data": {
                    "filetype": "image",
                    "mimetype": "image/png"
                }
            },
            "store_1539288700900": {
                "data": {
                    "filename": "Publish-Png",
                    "handle": "WeixbzAkS5iZhD0RTsTD",
                    "size": 15834,
                    "type": "image/png",
                    "url": "https://cdn.filestackcontent.com/WeixbzAkS5iZhD0RTsT"
                },
                "url": "https://filestack-converse-production.s3.amazonaws.com/_wf/AcCAvMTSvRJ6e0i7eIqkjz/2c9b5749-b76e-453a-9756-e7f112d2f45d/0ih45emUS5eJ1H5G08ag/16d76a18-422f-4478-af77-b4c62e21e456/3bf255c1e548e4557c786a6b9ae14f0a?AWSAccessKeyId=AKIAINGKEZAPX6H5LB7Q&Expires=1339644229&Signature=b3y3RqnMS8gYZ0z3SOsPld7Rr3c%3D",
                "mimetype": "image/png",
                "size": 15834
            }
        },
        "status": "Finished"
    }
}
Read more about creating webhook for workflows in our tutorial.
Security
In order to run a workflow when app security is enabled, convert and runWorkflow policy calls are required.
Policies including a call array should contain those calls. When calls are not explicitly set (call array is absent),
the policy allows every call. You can read more about this here.
Example policy might look like this:
{
  "expiry": 1523595600,
  "call": ["runWorkflow", "convert", "store"],
}
API
Since workflows are asynchronous, there should be multiple requests to run your workflows and get the final results. In order for you to implement your workflows, run them, and get their final results, you can either use Webhooks configurable in Developer Portal or try Workflows API. Using Workflows API, you would be able to send one GET request to run your workflow on your selected files and another GET request to fetch the final results of your implemented workflow on your files.