Overview
Filestack Image Enhancement feature smartly analyzes a photo and performs color correction and other enhancements to improve the overall quality of the image. You can choose from multiple presets to achieve the best results. In this tutorial, we will present all available presets and using upscaling with Filestack API.
/enhance=preset:auto/
This preset automatically chooses a set of improvements that provide the best enhancement to a photo.


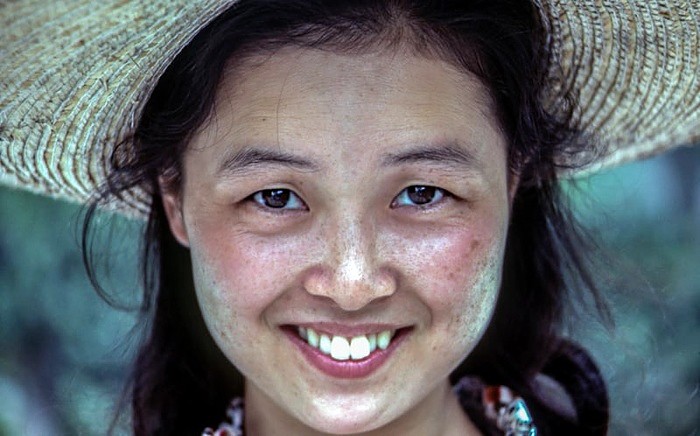
/enhance=preset:beautify/
This preset works wonders on portraits and shots of people. It automatically scans each face in the photo and adjusts how much corrections to apply to each face.

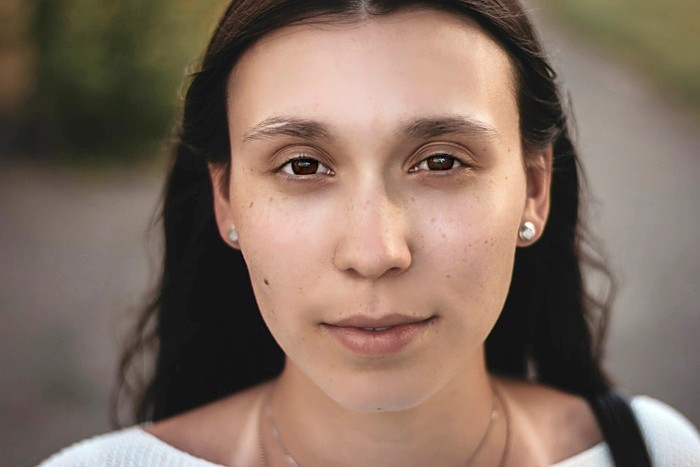
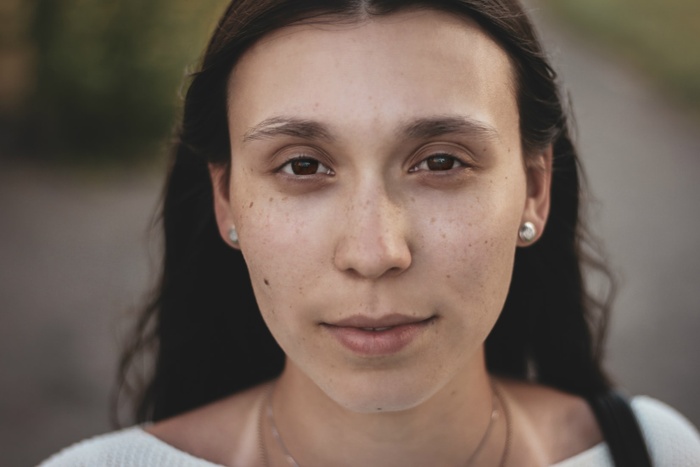
/enhance=preset:beautify_plus/
It is similar to beautify, but it applies stronger corrections and uses a larger set of possible modifications.
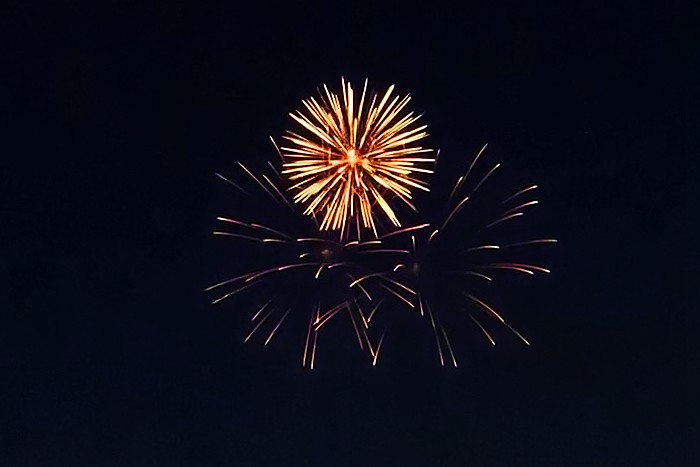
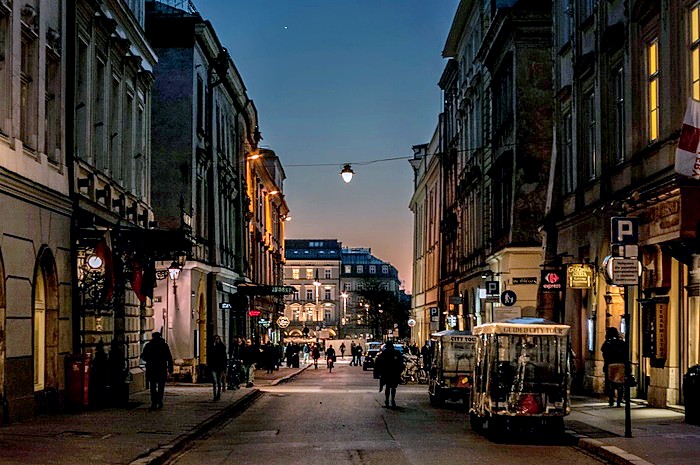
/enhance=preset:fix_dark/
This setting will do a terrific job on extremely underexposed photos or photos where a dark subject is in front of a very bright background. By turning off the contrast, maximum detail is retrieved from the shadow areas without blowing out the bright areas.

/enhance=preset:fix_noise/
This setting automatically detects noise and, if detected, applies powerful noise removal to remove any grains from your photos while preserving details. Noise is automatically detected and applied depending on the ISO level and your camera make/model, and will therefore vary per photo.
/enhance=preset:fix_tint/
Use this setting to remove abnormal tints (yellow, blue, green, etc.) from your photos. Abnormal tint occurs where the camera’s sensor picked up excess green from fluorescent lights, or excess red from the infrared heat of a person in the image, or excess blue from ultraviolet, or excess yellow from tungsten lights.
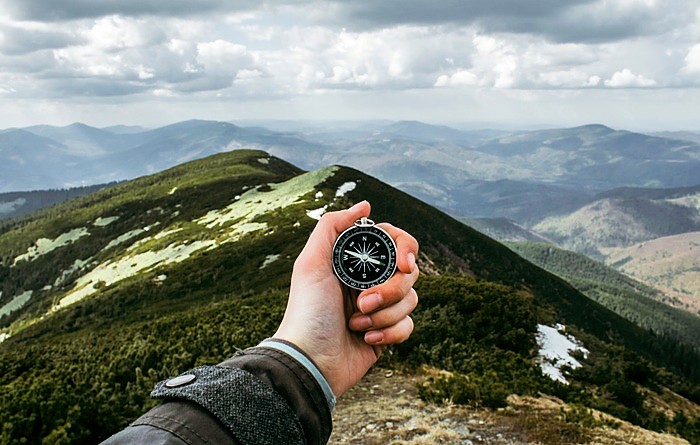
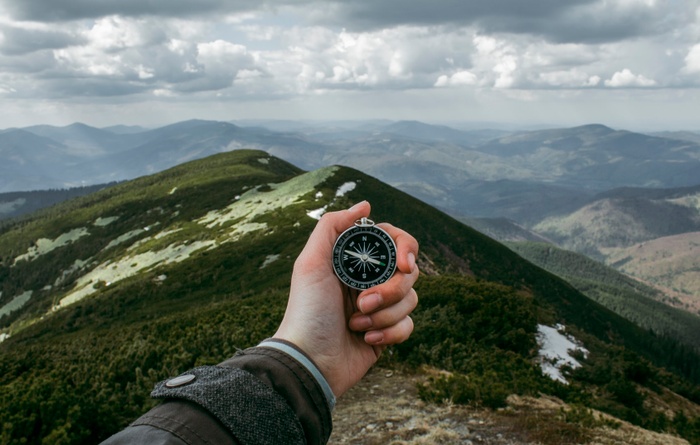
/enhance=preset:outdoor/
This preset optimizes your landscape photographs with more color vibrancy. The contrast is adjusted to reveal slightly more detail in the shadow areas.