Create your own Instagram OAuth application
By default, you do not need to configure anything to start uploading files from Instagram, Filestack is ready to go out of the box. When a user logs into his Instagram account from your site, he will authorize Filestack application to access his resources. In order to provide seamless experience to your users you can configure Filestack Custom Auth so that users see your application instead.
This is also a MUST if you are using Custom CNAME with your Filestack application. If this step is not completed prior to using CNAME in a production environment, your users will not be able to access Instagram. Please note that this process requires scope approval from Facebook. Let’s get started!
Create Facebook Application
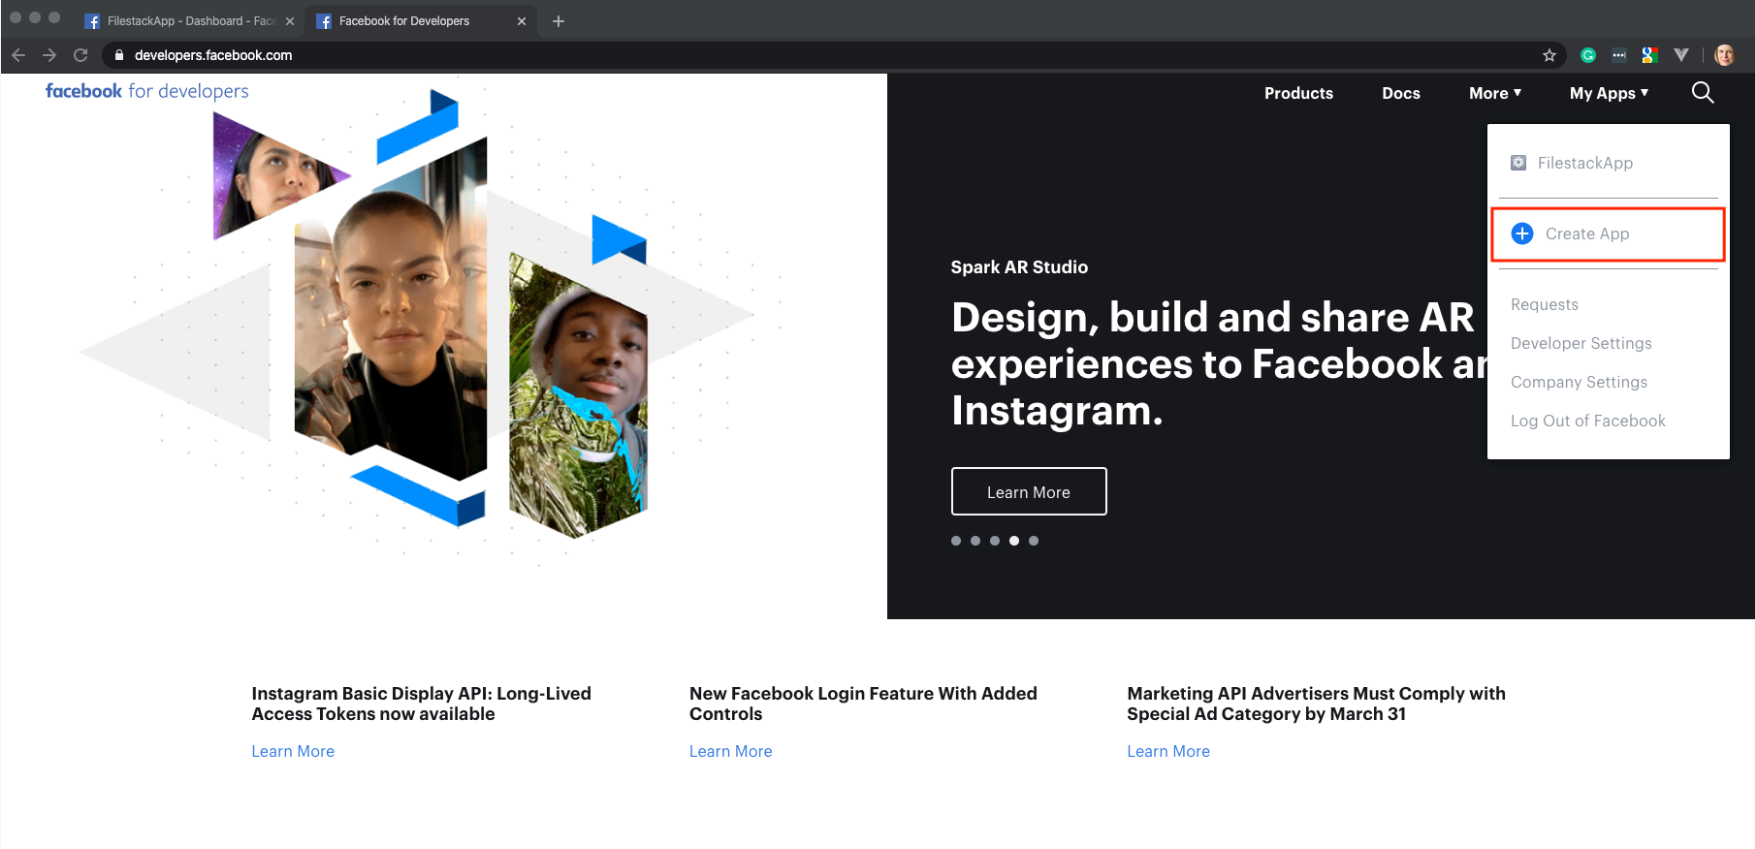
In order to create Instagram Application it is required to create or use Facebook Application. Please log in to your Facebook developers account and go to My Apps tab on the top right of your screen.
If you already have an application, please choose the one that you would like to use or choose Create App button:
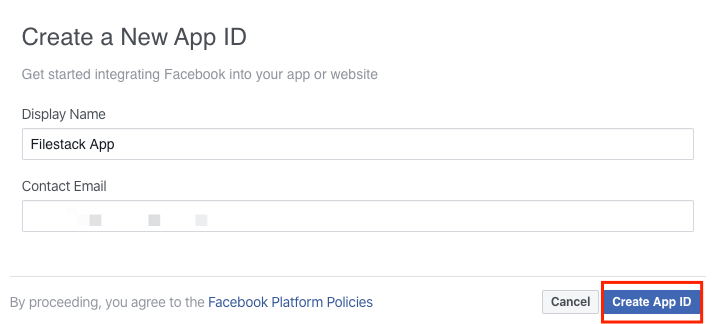
Set the name for your application and click Create App ID button. Please note, that this Facebook Application name refer to your Facebook app and can differ from your Instagram Application name.
Create Instagram Application
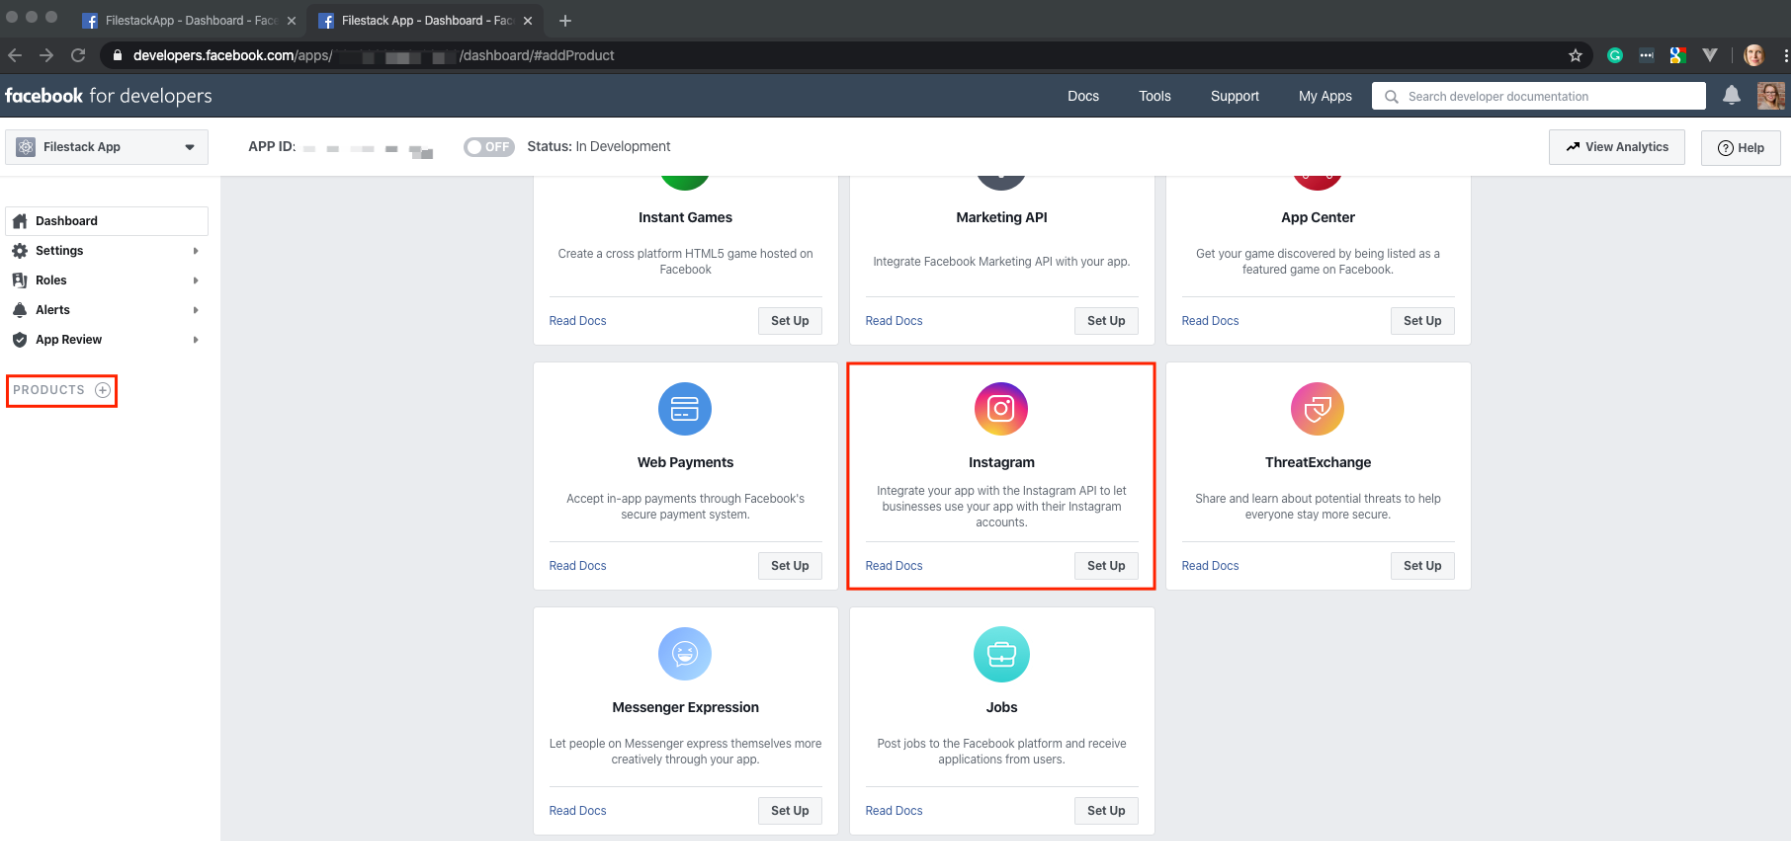
Once your Facebook application is created, go to Products tab on the left side of the Dashboard and choose the Instagram from the list of Applications then click Set Up button:
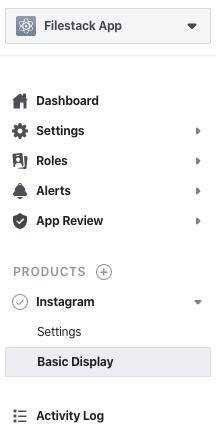
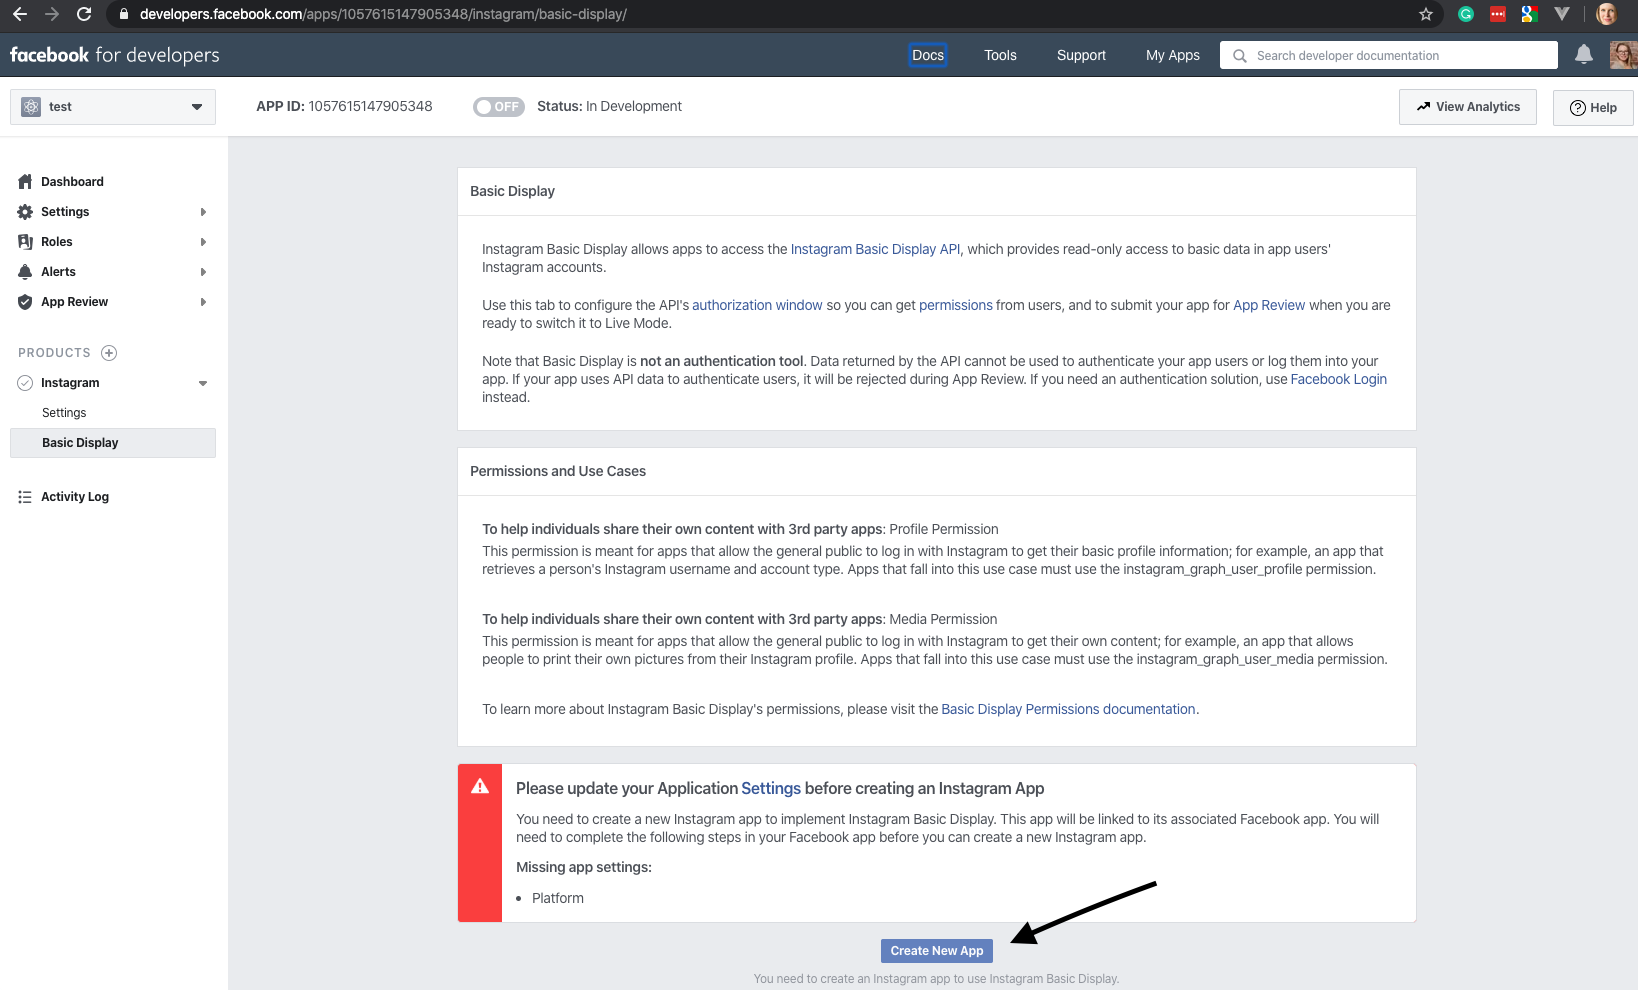
Navigate to Products → Instagram → Basic Display at the left of your Dashboard:
You shoud now see three section: Basic Display, Permissions and Use Cases and notification section where you will be asked to update the Application Settings. Please add the required settings and click Create New App button at the bottom of the screen.
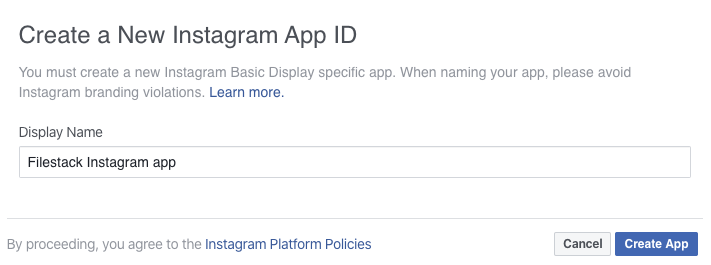
You will be requested to create a new Instagram Basic Display Application. Please choose the name for your Instagram Application. Please note that this Application name will be visible by your users during the upload process
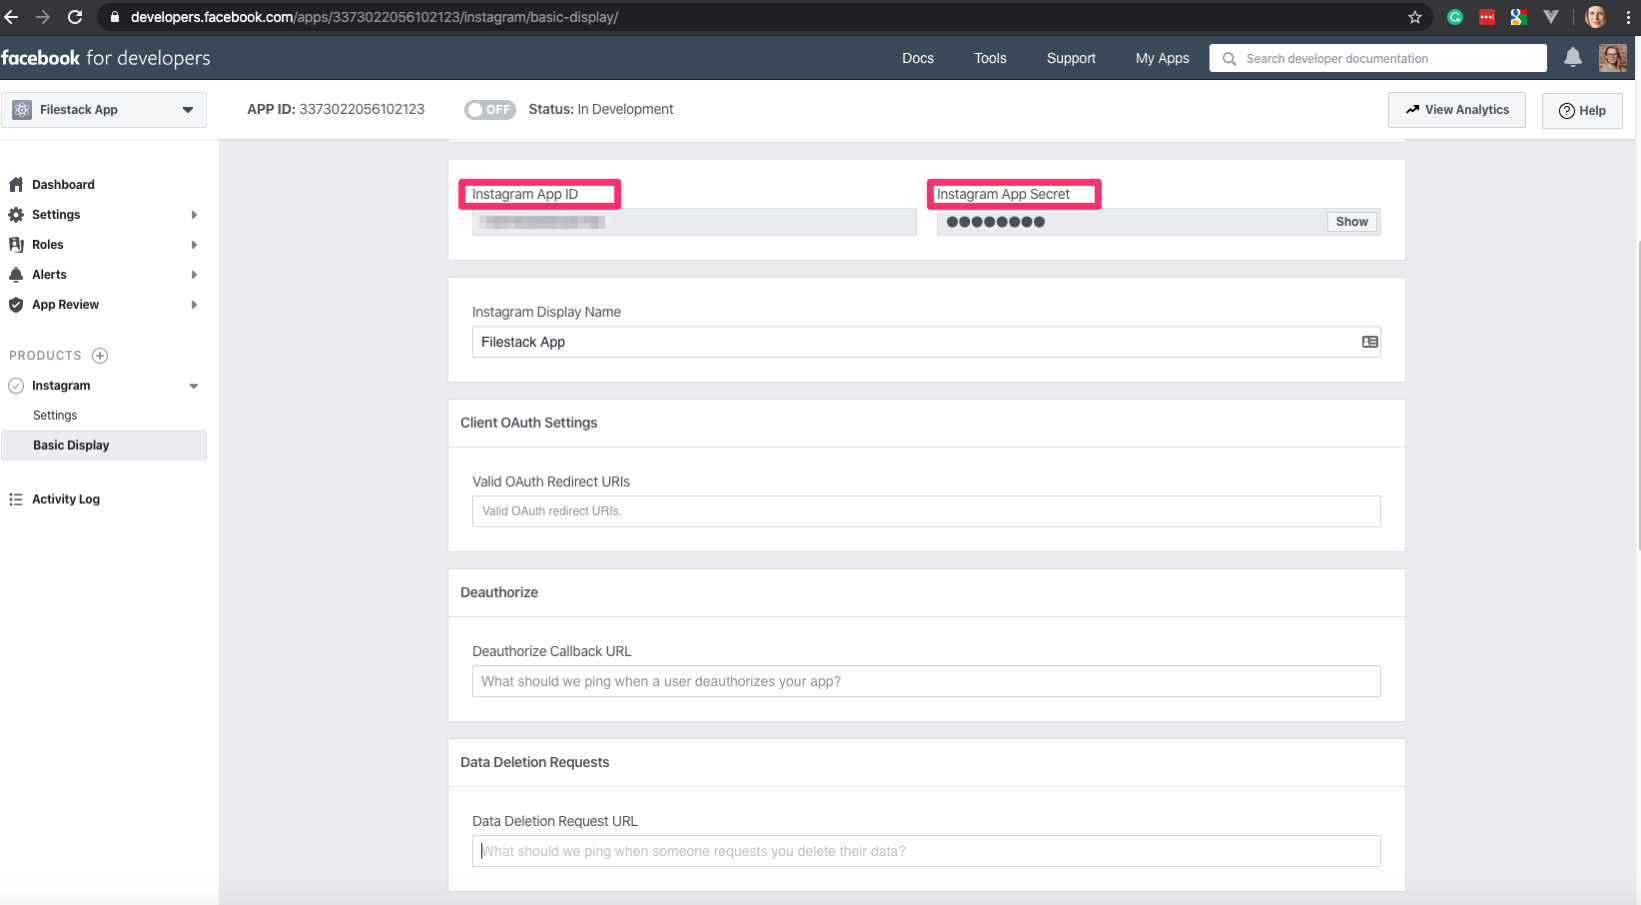
Instagram OAuth credentials
Your Instagram App ID and Instagram App Secret key should be now visible. Those keys will need to be set in Filestack Developer Portal.
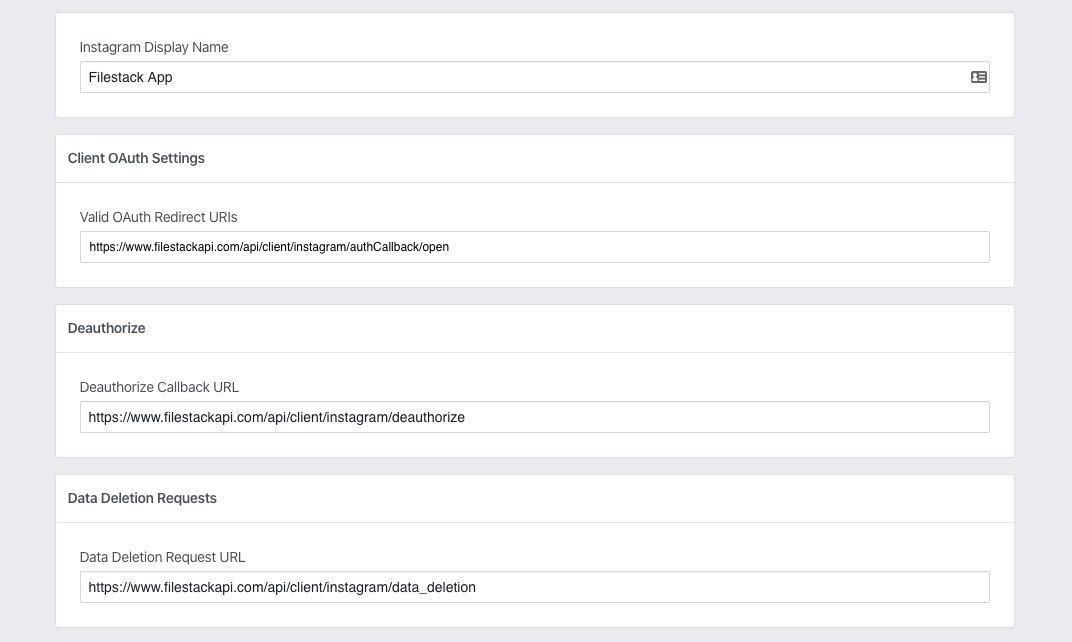
Instagram Application settings
Below the Instagram keys you should find three sections for:
- Client OAuth Settings
- Deauthorize
- Data Deletion Requests
Each of the section required specific URL:
- for Client OAuth Settings please add Valid OAuth Redirect URI
https://www.filestackapi.com/api/client/instagram/authCallback/open - for Deauthorize please add Deauthorize Callback URL:
https://www.filestackapi.com/api/client/instagram/deauthorize - for Data Deletion Requests please add Data Deletion Request URL:
https://www.filestackapi.com/api/client/instagram/data_deletion
Verify application
Once this step is completed, please scroll down to the App Review for Instagram Basic Display
section, click Add to Submission buttons for both instagram_graph_user_profile and
instagram_graph_user_media to grant the permission.
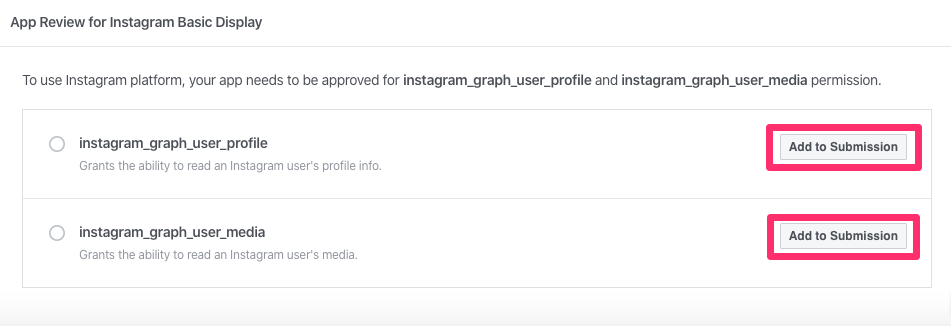
Click the Edit Details for each section.
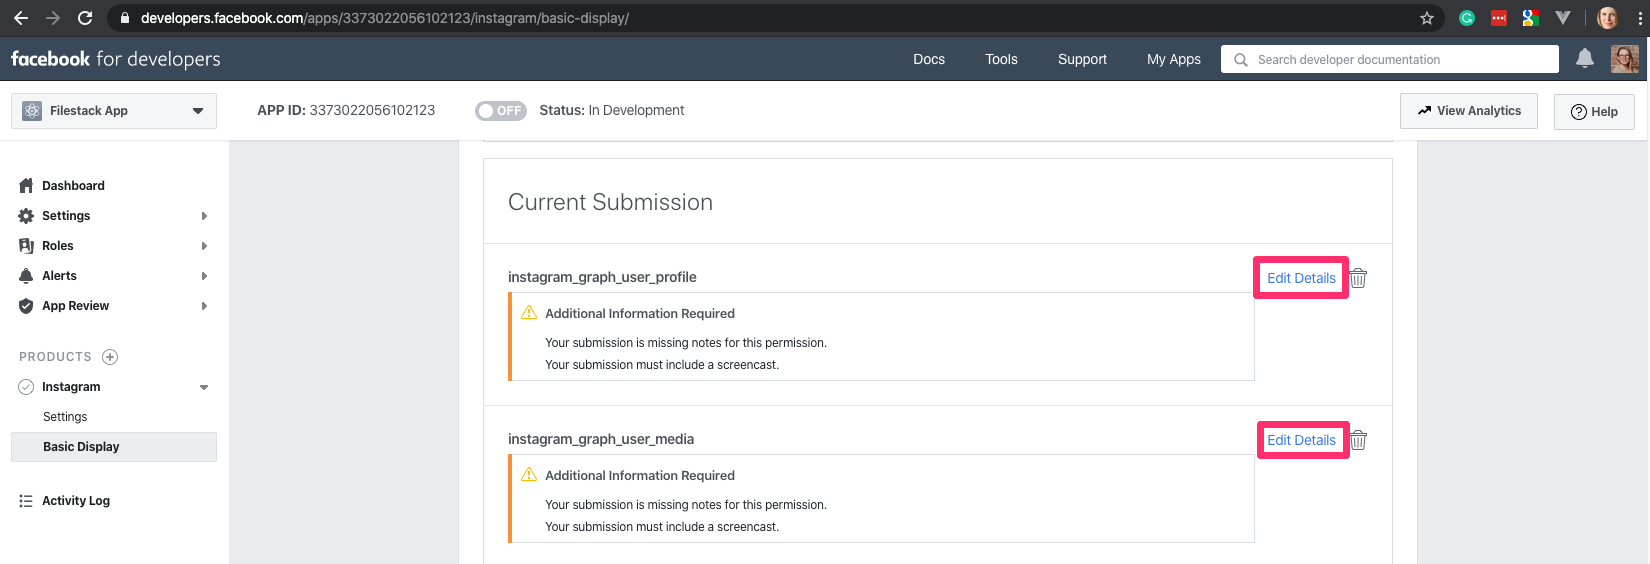
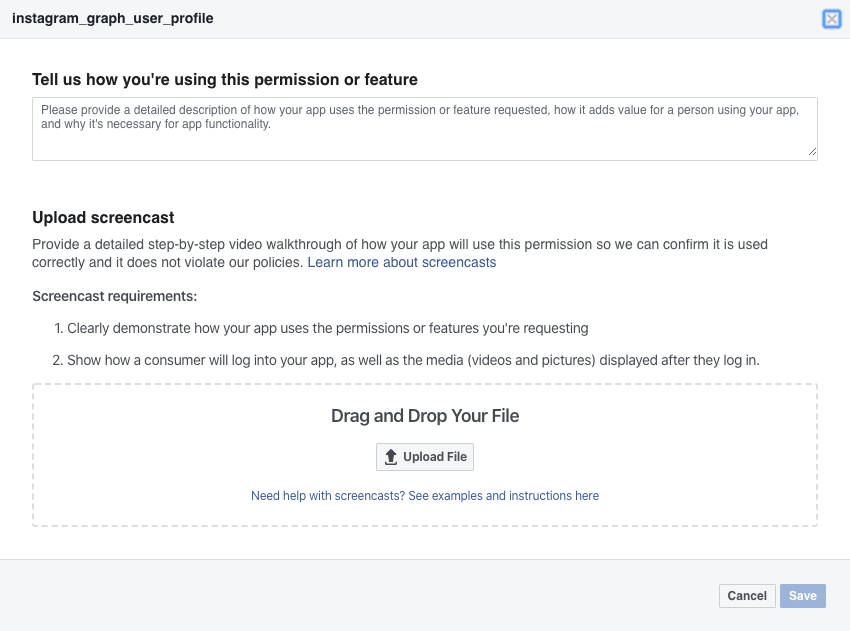
You will be requested to provide a detailed description of how your application uses the permission or feature requested, how it adds value for a person using your application, and why it's necessary for app functionality. You should also record the step-by-step walkthrought of how your aplication will use this permission. Please learn more about your application review process.
Developer Portal
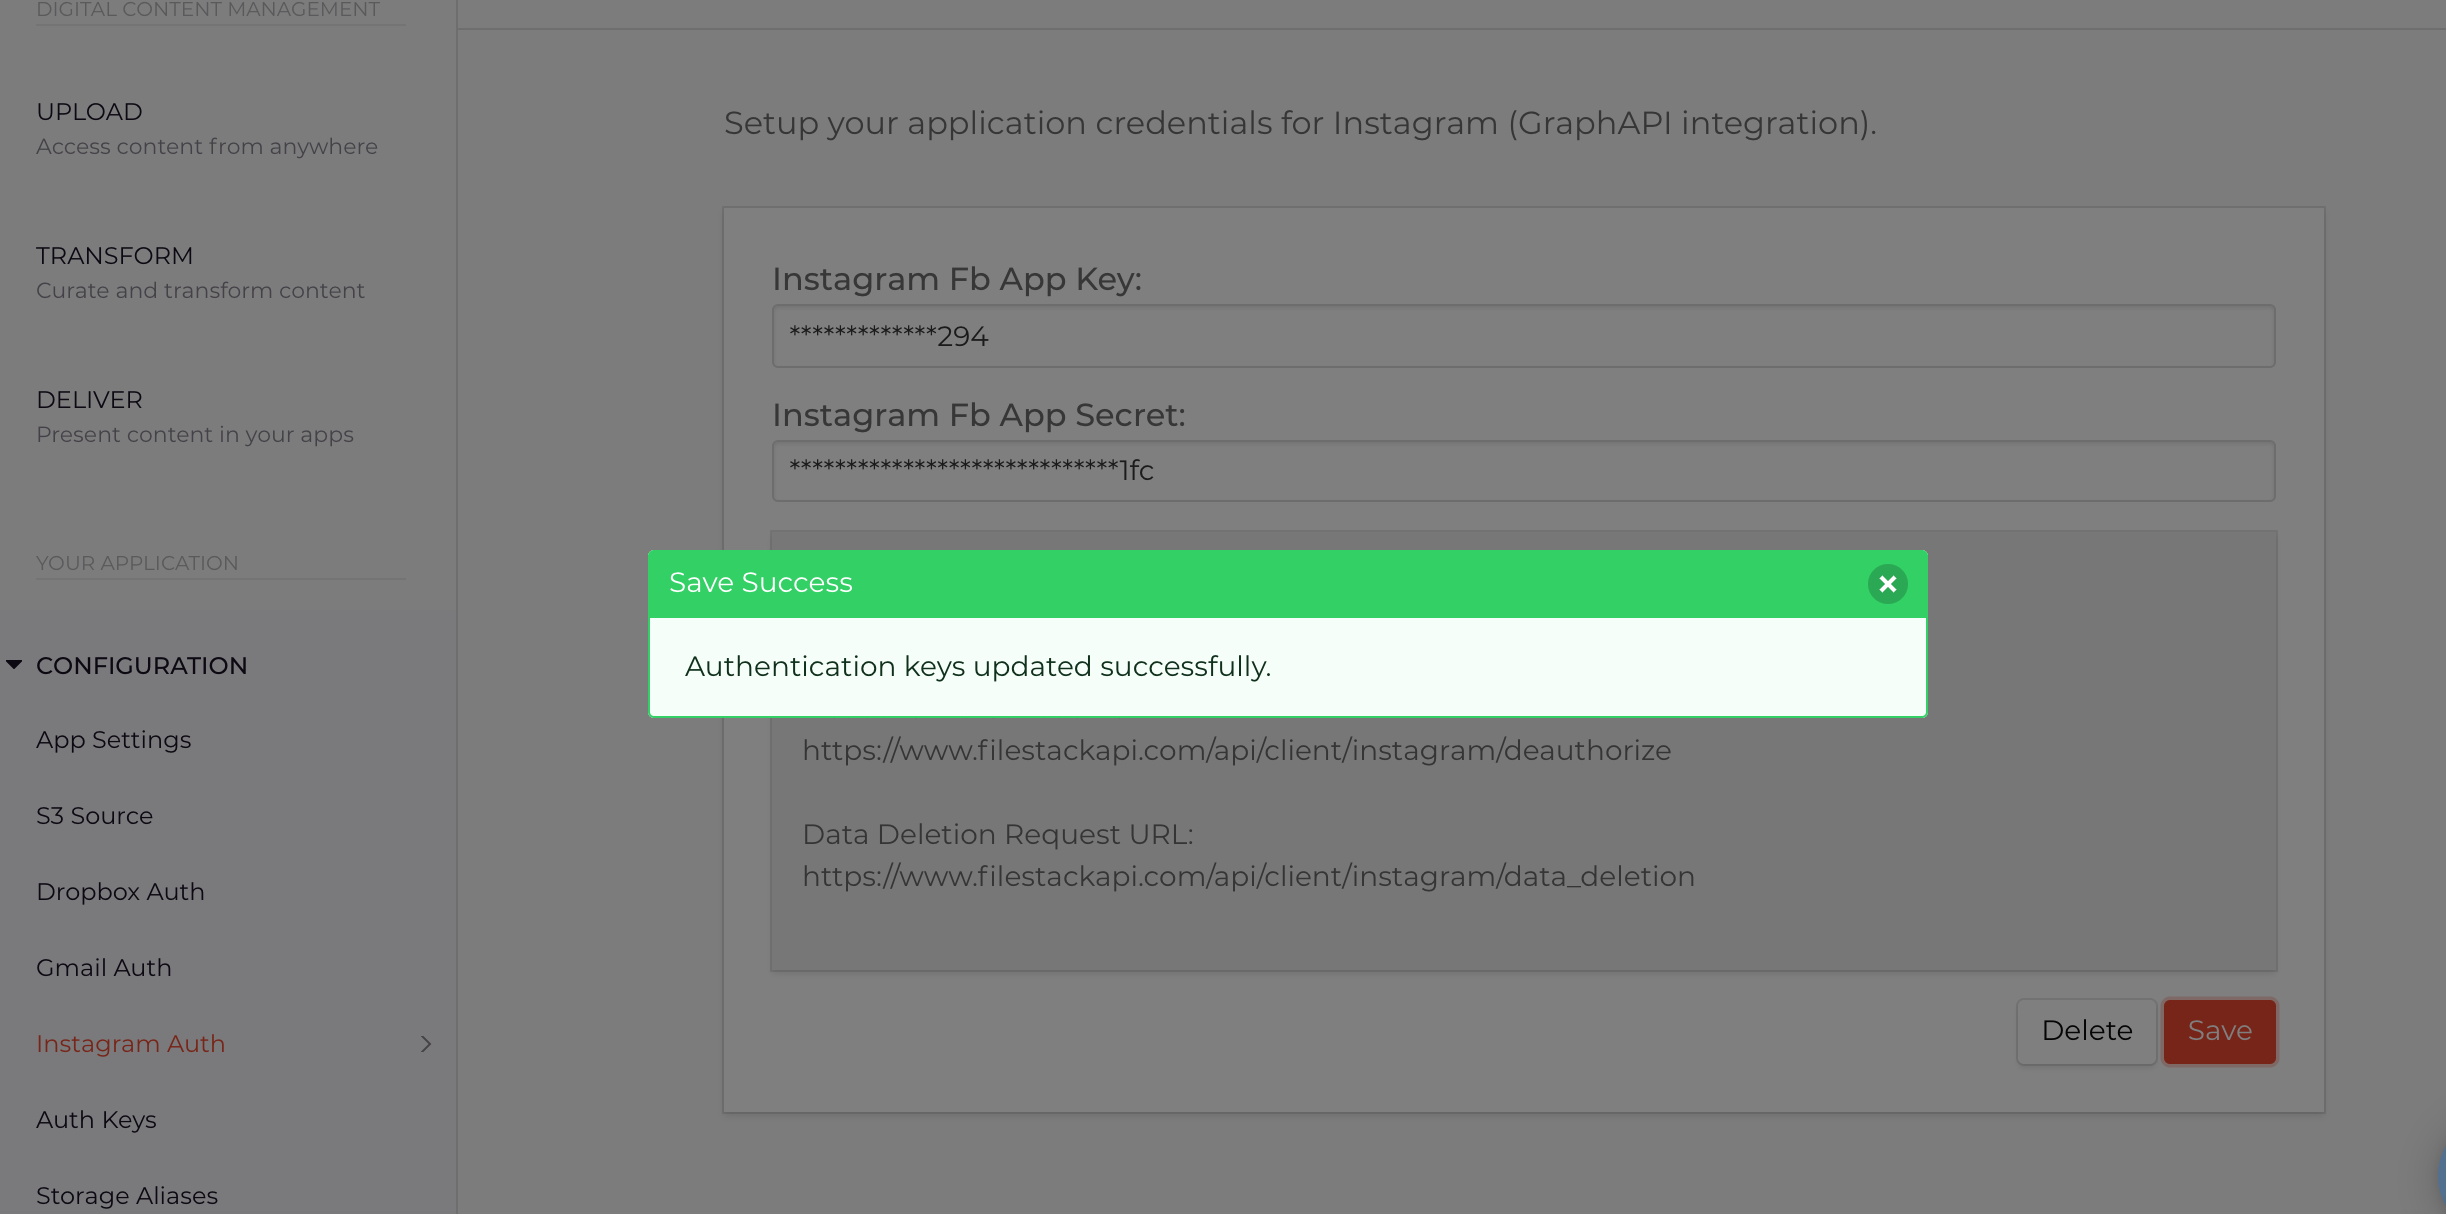
Once that is done, go back to the Developer Portal Custom Auth configuration and provide your client ID and client secret.
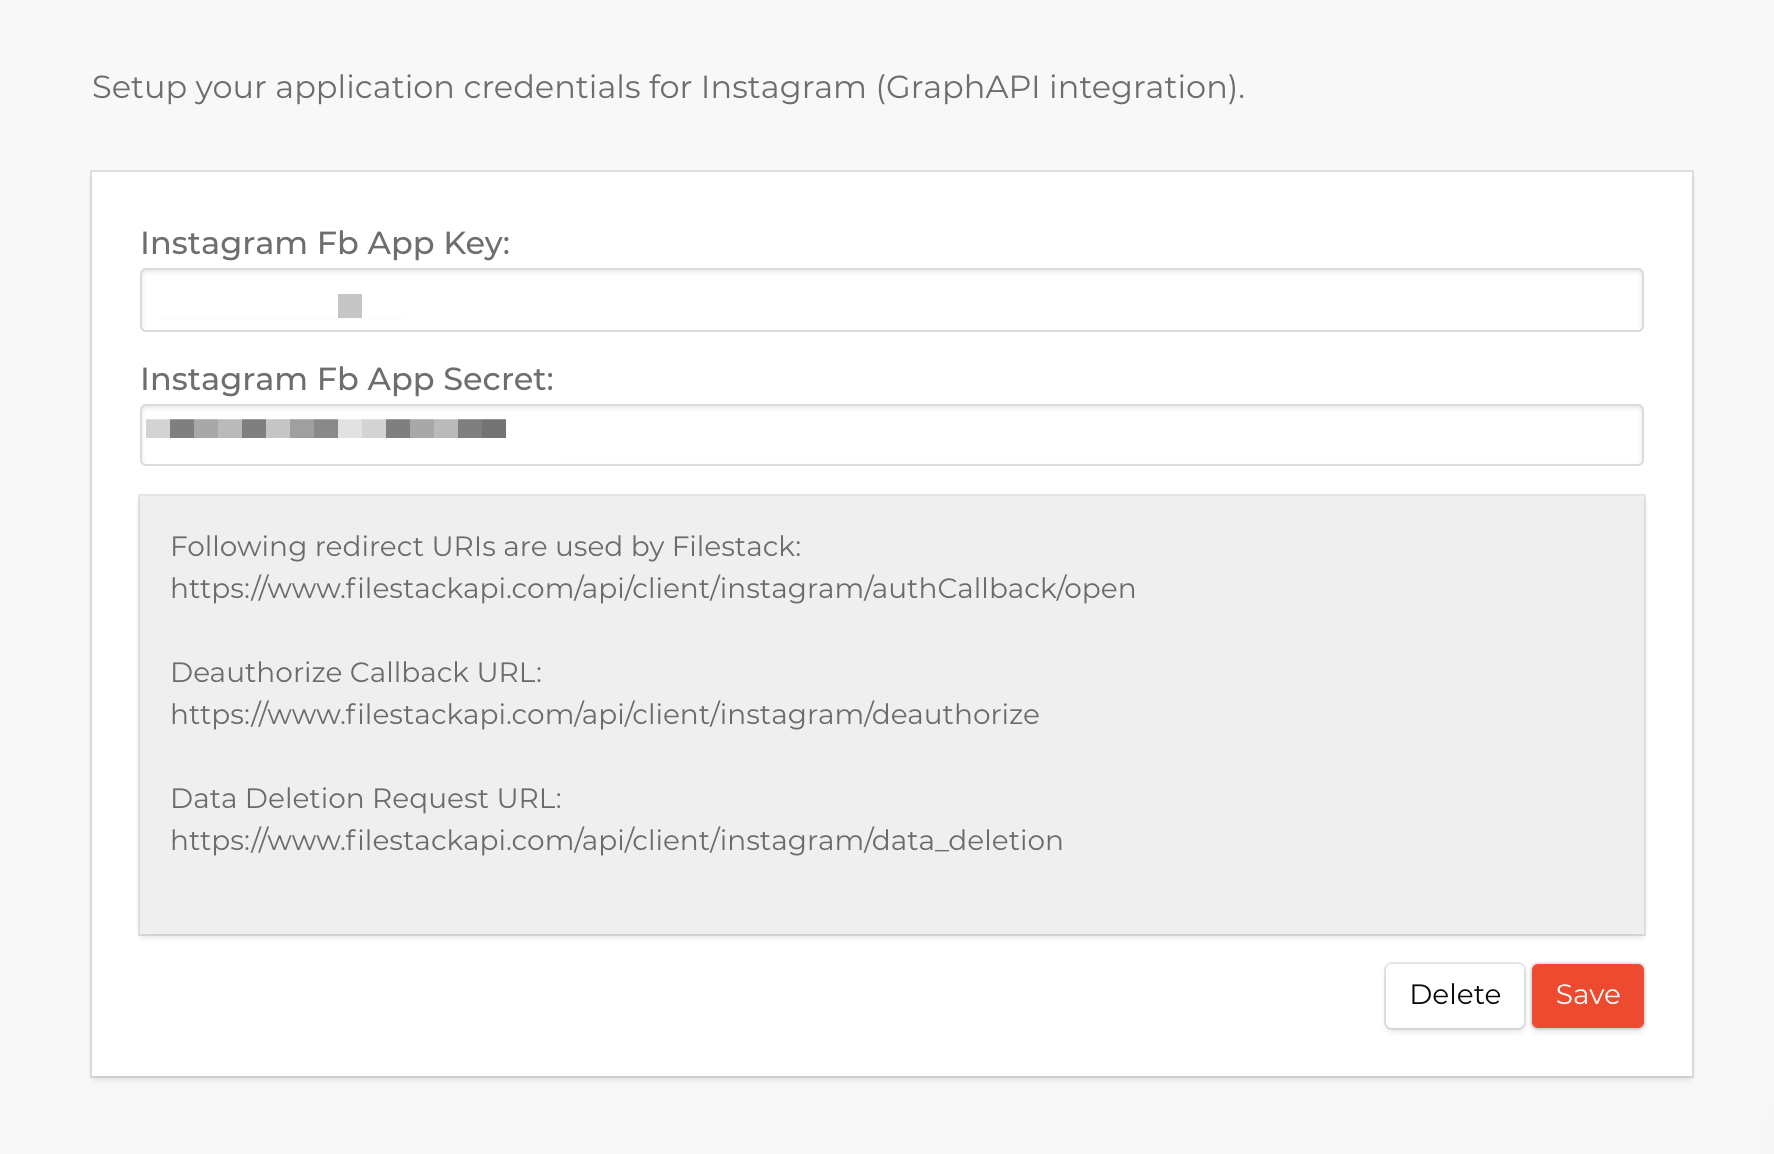
Click save and you are ready to go.
If you have any questions, please contact our friendly Support support@filestack.com